

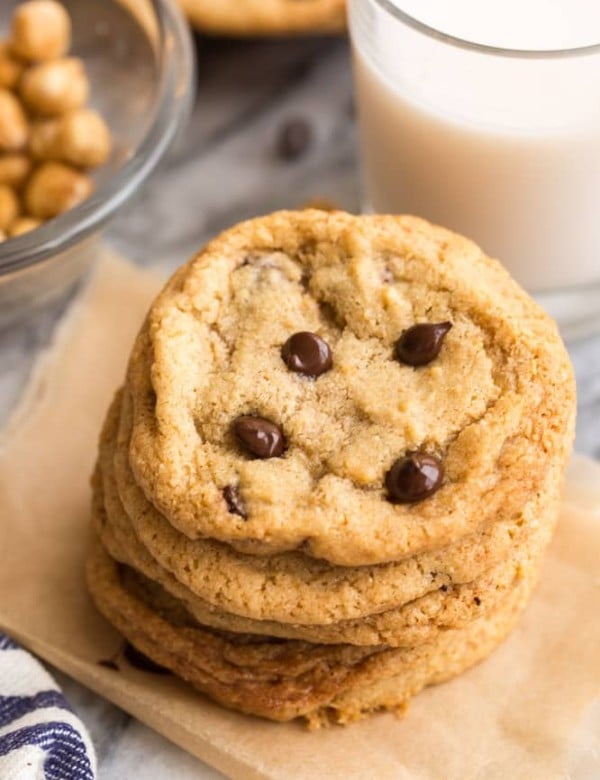
These gluten free brown butter chocolate chip cookies are chewy & rich with a delicious toffee-like flavor thanks to a few simple tweaks to your classic chocolate chip cookie recipe! No need for a fancy mixer. Just grab a couple of bowls, something to whisk/stir the dough & a little elbow grease to bring it all together.
Gluten Free Brown Butter Chocolate Chip Cookies – Good to Know
- Key Ingredient – Brown Butter: rich & nutty
- Brown butter enhances the overall flavor & texture.
- Cream Cheese + Extra Yolk: for richness & extra chew
- Replace some of the volume lost when browning butter with a spoonful of cream cheese for an even softer, richer cookie with a tangy hint of flavor to balance the sweet & salty.
- Extra egg yolk = extra fat & moisture which means softer, chewier cookies.
- Time Needed: about 3-4 hours
- 15 minutes to brown butter + 20 minutes to cool.
- 15 minutes to make the dough + 15 to roll into balls
- 2 hours to chill
- 10-12 minutes to bake
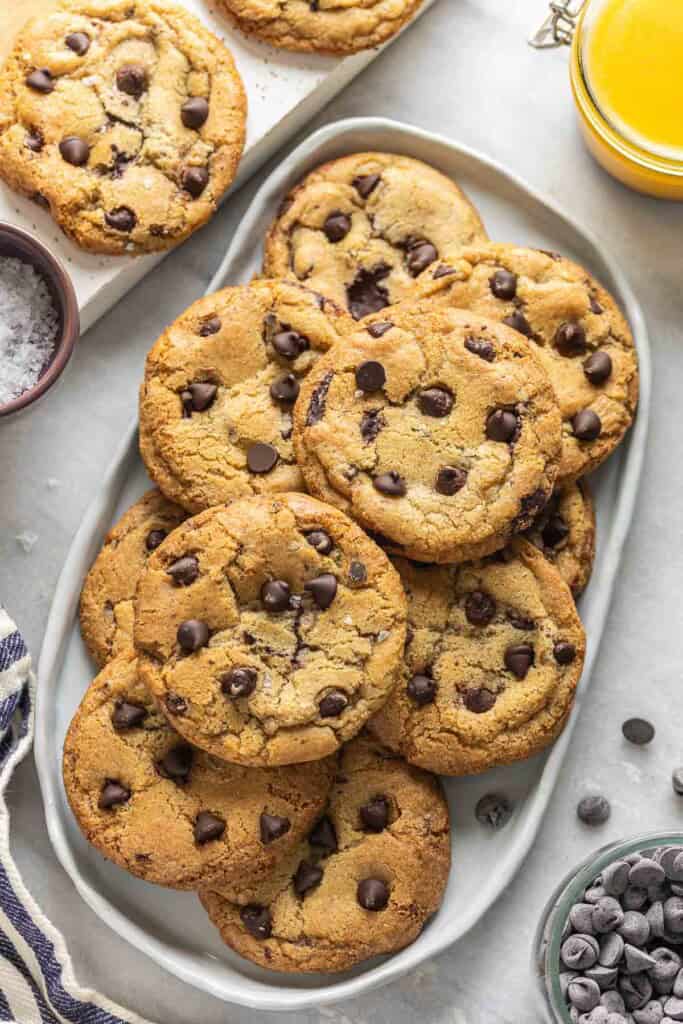
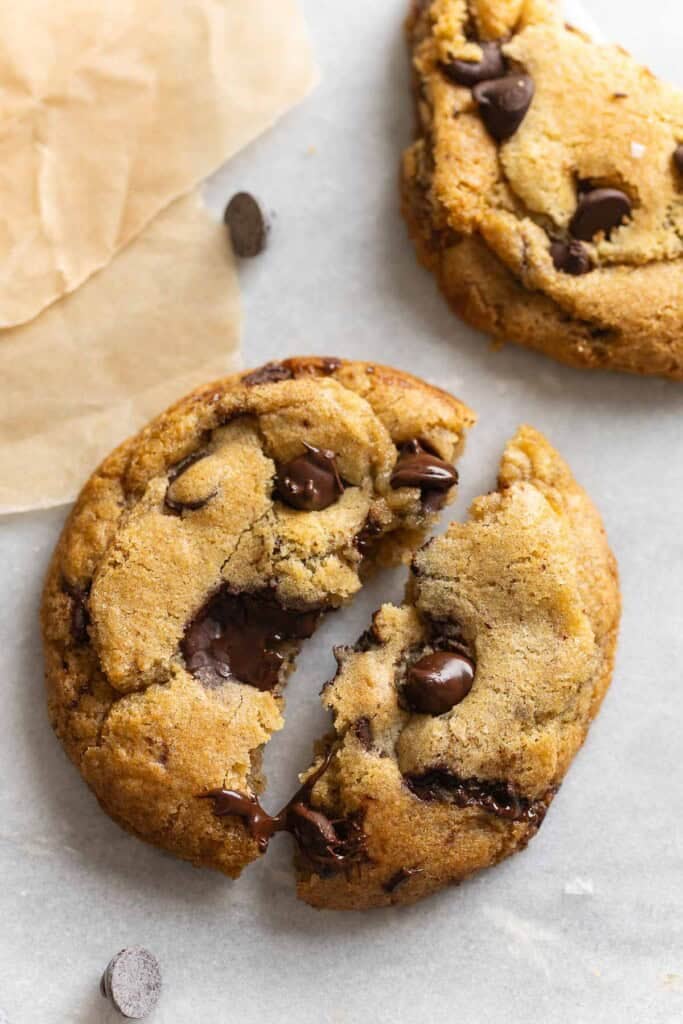
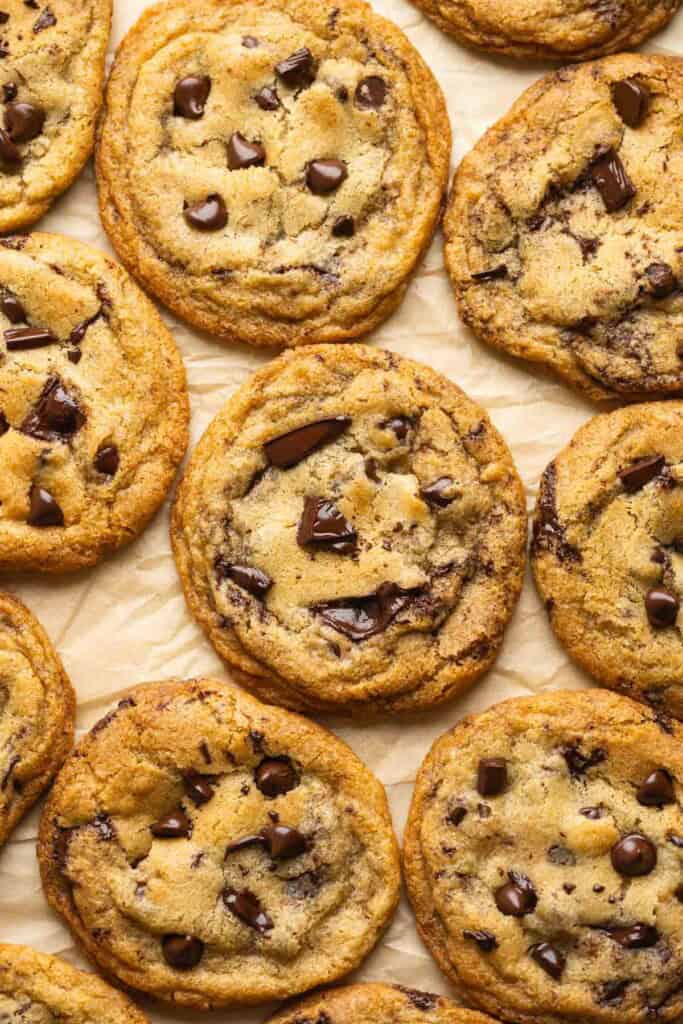
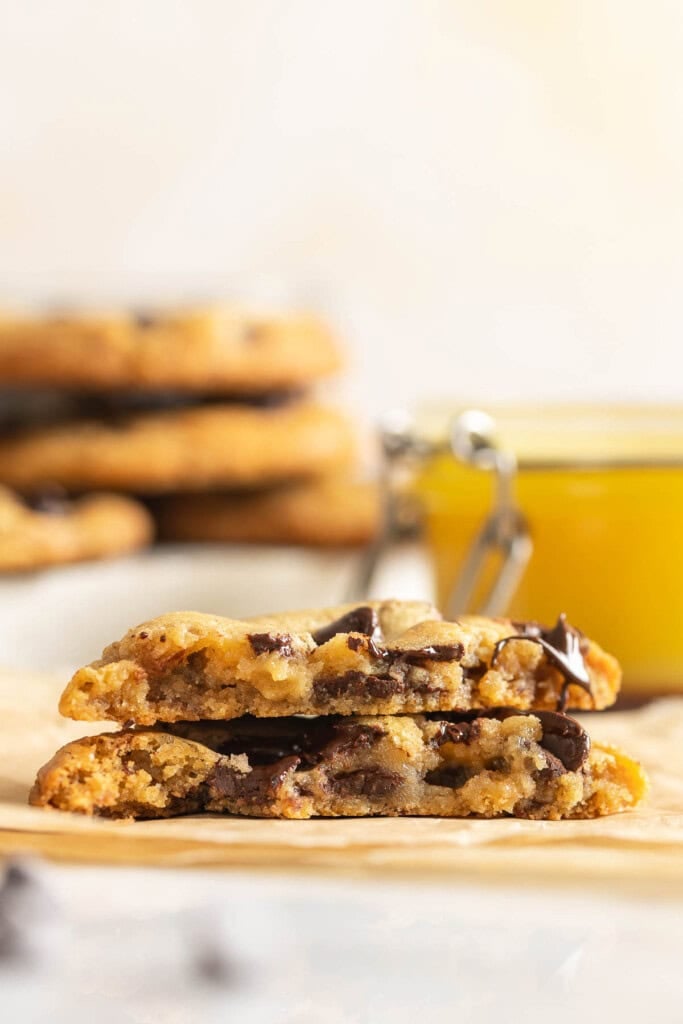
- Final Taste & Texture: chewy texture, toffee-like flavor
- Crisp edges, soft & chewy centers and a rich-caramel flavor packed into a classic chocolate chip cookie recipe.
How to Make these Gluten Free Brown Butter Cookies
Broken down into bite-sized steps:
- brown the butter
- mix the cookie dough
- roll cookie dough into balls then cover & chill
- bake until golden brown around the edges
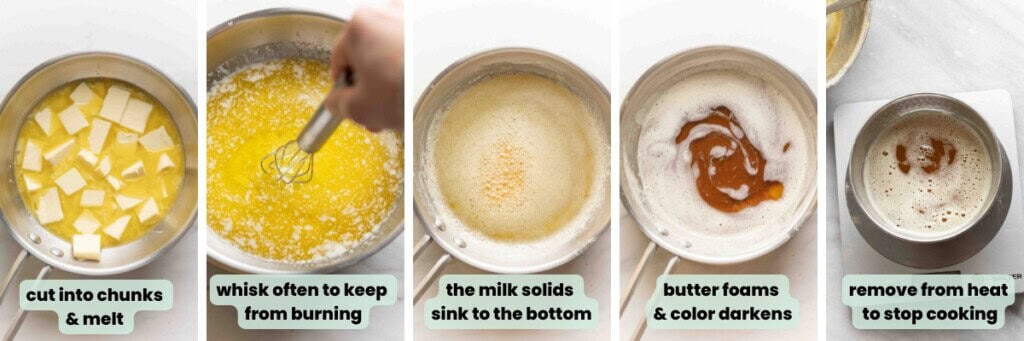
Brown the Butter
Cut the butter into tablespoon-sized pieces and melt over a medium heat. Stir and continue to cook about 10 minutes until the milk solids toast and the butter transforms into a rich amber color with a toasted, nutty aroma.
Check out my post detailing how to make brown butter if you if you want more info & step-by-step pic in the process.
Tip! Check the Butter weight/Volume after Browning ⚖️🧈
Measure or weigh out the butter after browning to double check you end up with the right amount.
You should have about 134g (9½ tablespoons of butter) after browning.
Make the Cookie Dough
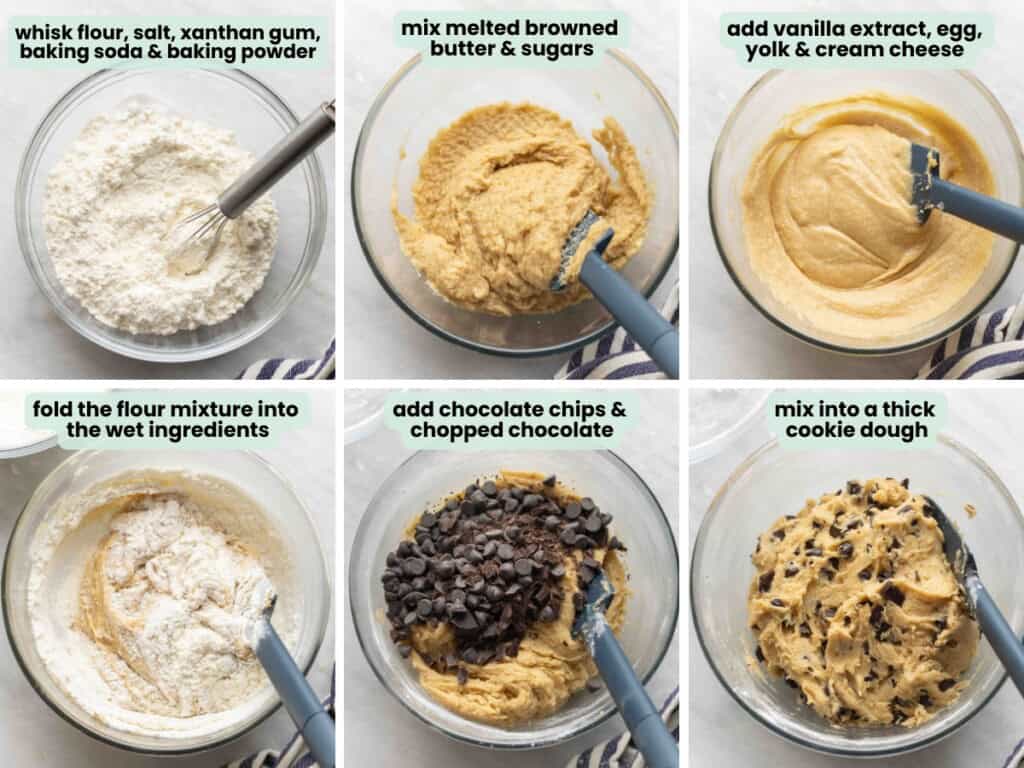
- Bowl #1 (medium bowl): Whisk together the flour, xanthan gum, baking soda, baking powder and salt. Set aside.
- Bowl #2 (large bowl): Mix the (cooled) browned butter, brown sugar and white sugar together. It should look & feel like wet sand.
- Add the vanilla extract, egg, egg yolk and cream cheese. Mix with a rubber spatula until combined into a thick, smooth, creamy mixture.
- Add the dry ingredients to wet ingredients. Gently mix together into a thick cookie dough.
- Stir in the chocolate chips.
Roll into Balls then Chill the Dough
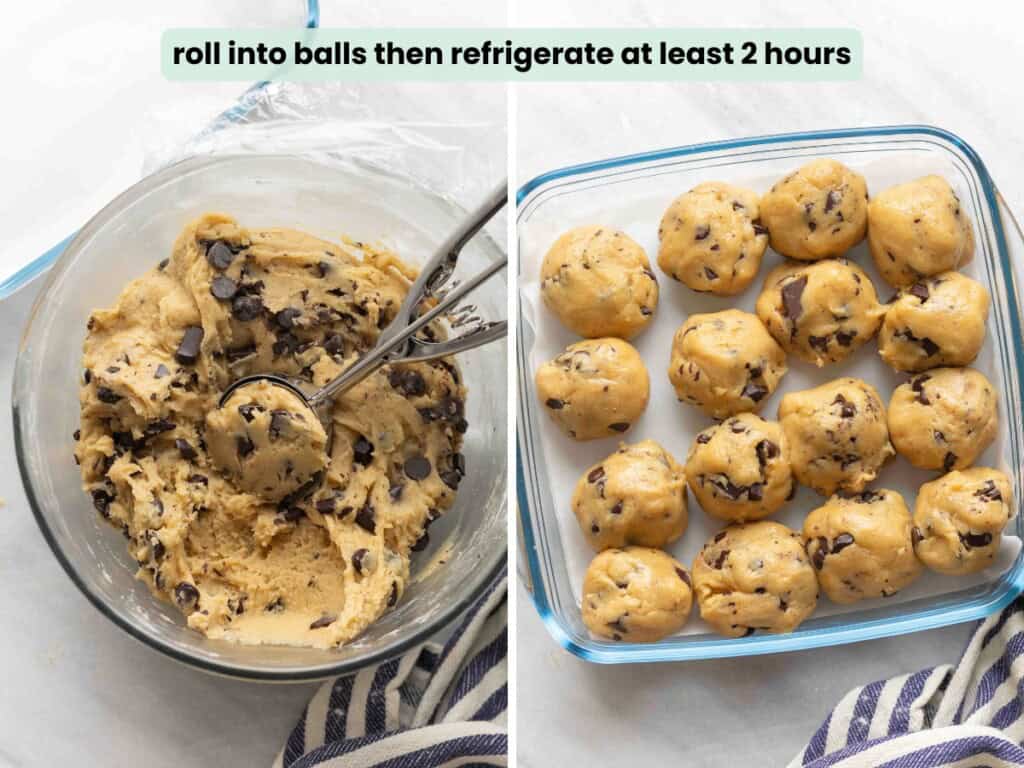
- Scoop out about 2 tablespoons worth of dough (about 50g) and roll into balls.
- Place the cookie dough balls on a cookie sheet, plate or container.
- Cover and place in the refrigerator for at least 2 hours to chill.
Why Chill the Dough?
Three main reasons:
- Reduced spreading in the oven. Chilling the dough re-solidifies the butter which stops it from spreading too much as it bakes.
- Better texture. Chilling firms up the fat and gives the dough time to rest and the flour to absorb the liquids (extra necessary for gluten free baked goods!). This makes for a denser, chewier cookie.
- Better flavor. Chill time also gives allows more time for the butter, sugar & vanilla to mingle and deepen into a more concentrated, richer flavor.
Bake the Cookies
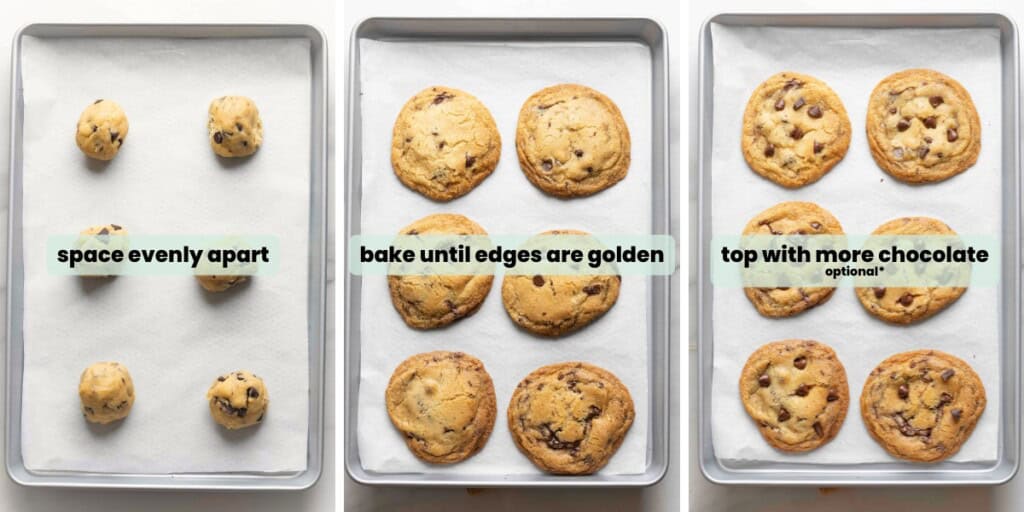
- Baking Prep: Grease or line a couple of large baking sheets with baking paper or a silicon baking mat.
- Add Dough: Make sure to leave about 2-3 inches in between each cookie dough ball to leave for oven spread.
- Bake: Place in preheated oven and bake for about 10-12 minutes until golden around the edges and gooey in the middle.
Recipe Tips & Things to Keep in Mind
- Use a kitchen scale for best results.
- On average, butter loses about 20% of its volume when you brown it because you’re cooking out the water. In this case, you start out with 3/4 cup (170g) butter and should end up with about 9½ tbsp (134g) after browning. A kitchen scale will help you quickly and accurately check your volume without messing around with tablespoons.
- Brown the butter in a light-colored pan.
- It’s much easier to watch for the color change and check the brown bits (toasted milk proteins) in a light pan than in a dark one.
- Don’t skip the chill time.
- Chill time is crucial! Don’t skip it or your cookies will likely spread too much in the oven.
- Underbake the cookies (just barely).
- Your cookies are done when the edges are golden and set and the middles still look a bit undercooked with extra gooey centers. Leave them on the baking sheet to finish cooling – the residual heat will finish them off.
- Add extra chocolate after baking.
- Give your cookies a bake-house style look to them by pressing a few extra chocolate chips into the tops of your cookie fresh out of the oven. Do it while they’re still warm so they melt into the cookies.
❄️Freeze for Later❄️
- Cookie Dough:
- After dividing and shaping the dough into cookie dough balls, chill in the fridge for about 1 hour to firm up. Once the dough has firmed up, transfer to a freezer bag or container and freeze up to 3 months.
- Make sure to label & date the bag/container.
- Bake from frozen:
- Take the dough out of the freeze while the oven preheats.
- Add an extra 2-3 minutes to the total bake time.
- After dividing and shaping the dough into cookie dough balls, chill in the fridge for about 1 hour to firm up. Once the dough has firmed up, transfer to a freezer bag or container and freeze up to 3 months.
- Baked Cookies:
- Cover & freeze fully cooled cookies on a lined baking sheet (one that can fit in your freezer) 1 hour until solid.
- Transfer frozen cookies to a bag or Tupperware container and enjoy within 3 months.
- Tip: place a small sheet of baking parchment in between each cookie to prevent cookies from freezing together.
- Enjoy straight out of the freezer (after a few minutes to warm up) or thawed in the fridge.
🍪More Gluten-Free Chocolate Chip Cookies🍪
- Almond Flour Chocolate Chip Cookies
- Gluten Free Chocolate Chip Cookies
- Chocolate Chip Sunflower Seed Cookies (Green Inside!)
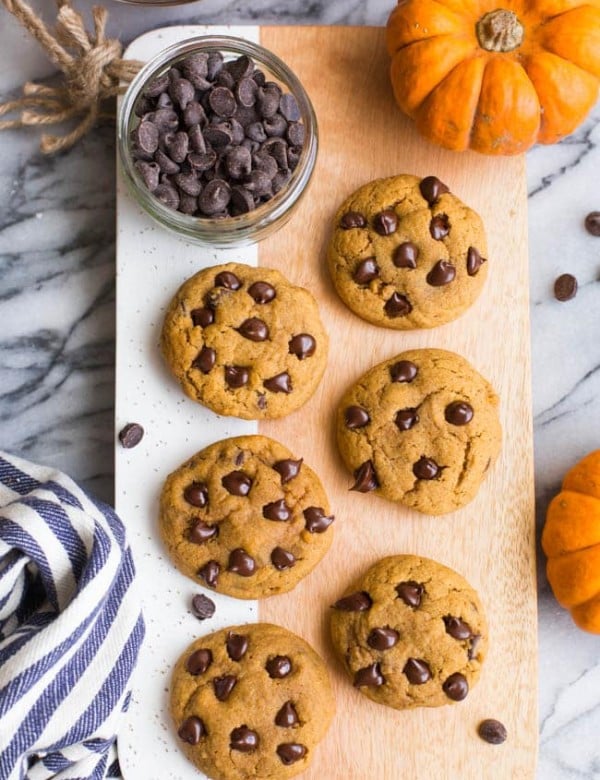
- Chocolate Chip Pumpkin Cookies with Almond Flour
- Chocolate Chip Cranberry Oatmeal Cookies (Vegan Option)
- Chocolate Chip Almond Flour Zucchini Cookies
- Oatmeal Raspberry Chocolate Chip Cookies
- Chocolate Chip Hazelnut Cookies
- See all → gluten-free cookie recipes←
Enjoy!
Let me know if you try this Gluten Free Brown Butter Chocolate Chip Cookies recipe! Leave a comment and review with your thoughts. I always appreciate the feedback and serving suggestions that you come up with!

Gluten Free Brown Butter Chocolate Chip Cookies Recipe
Brown butter brings deep caramel-like flavor, while the cream cheese & extra egg yolk keeps these gluten-free chocolate chip cookies soft, chewy & reliably delicious!
Ingredients
- ¾ cup salted butter, (170g) - cut into small chunks
- 2 cups gluten free all purpose flour blend (280g)
- ½ tsp xanthan gum - omit if your flour blend already has xanthan
- 1 tsp baking soda
- ¼ tsp baking powder
- ½ tsp salt
- 1 cup light brown sugar, packed (220g)
- ⅓ cup white sugar (65g)
- 1 egg + 1 egg yolk
- 1 tbsp cream cheese (15g)
- 1 tbsp vanilla extract (15ml)
- 1 cup semi-sweet chocolate chips or chopped dark chocolate (170g) - ensure GF
Instructions
Brown Butter
- Melt: Add the butter to a small pan or pot and melt over a medium heat.
- Cook & Stir: Keep stirring the butter as it cooks. It will start to bubble up then eventually the bubbles will turn to small foamy bubbles while the milk solids sink to the bottom of the pan. Keep stirring while the vibrant yellow turns to a deep amber color. You should also notice a rich, nutty smell from the butter.
- Cool butter: Take the pan off the heat then pour the butter into a heat-proof container to cool down. Set aside while you prep the dry ingredients. The butter should be cool enough to touch without burning yourself (20-30 minutes).
Cookie Dough
- Flour mixture: In a medium bowl whisk together the flour, xanthan gum, baking soda, baking powder and salt until well combined. Set aside.
- Butter & sugar: In a large mixing bowl add the cooled butter, brown sugar and white sugar. Mix together with a rubber spatula until combined - should look like wet sand.
- Remaining wet ingredients: Add the egg, yolk, vanilla extract and cream cheese to the bowl. Mix into an evenly combined thick and creamy mixture.
- Add dry ingredients: Add the flour mixture to the bowl and mix together until just combined. Scrape down the bottom and sides of the bowl to fully combine. Stir in the chocolate chips.
- Roll into balls then chill: Use a cookie scoop or spoon to scoop out about 2 tablespoons of dough (about 50 g each), then roll each dough portion into a ball. Place the rolled balls onto a plate or a storage container. Cover & refrigerate 2-24 hours to firm up.
- Oven Prep: Preheat the oven to 350°F (175°C). Line a couple of large baking sheet with parchment paper. Take the cookie dough out of the fridge.
- Bake: Place the cookie dough on the prepared baking sheet. Leave about 2-½ inches in between each portion of dough to leave room for spreading. Bake in the oven for about 11-13 minutes. The middles will look slightly underbaked, but will continue cooking on the baking sheet out of the oven. Let cool on the pan for about 5 minutes then transfer to a wire rack to finish cooling. Repeat with the remaining cookie dough.
- Store: Store at room temperature in an airtight container at room temperature 1 week.
Notes
Freeze Cookie Dough: After rolling & chilling the cookie dough, place in the refrigerator for an hour or so to firm up. Once hardened, transfer to a ziplock bag or freezer safe container and store in the freezer for up to 3 months. When you’re ready for cookies simply bake from frozen – just add an extra 2-3 minutes to the overall bake time.
If you want to use unsalted butter, increase salt to 1 teaspoon.
Dark brown sugar also works - your cookies will be a bit sweeter and darker in color.


Leave a Review!