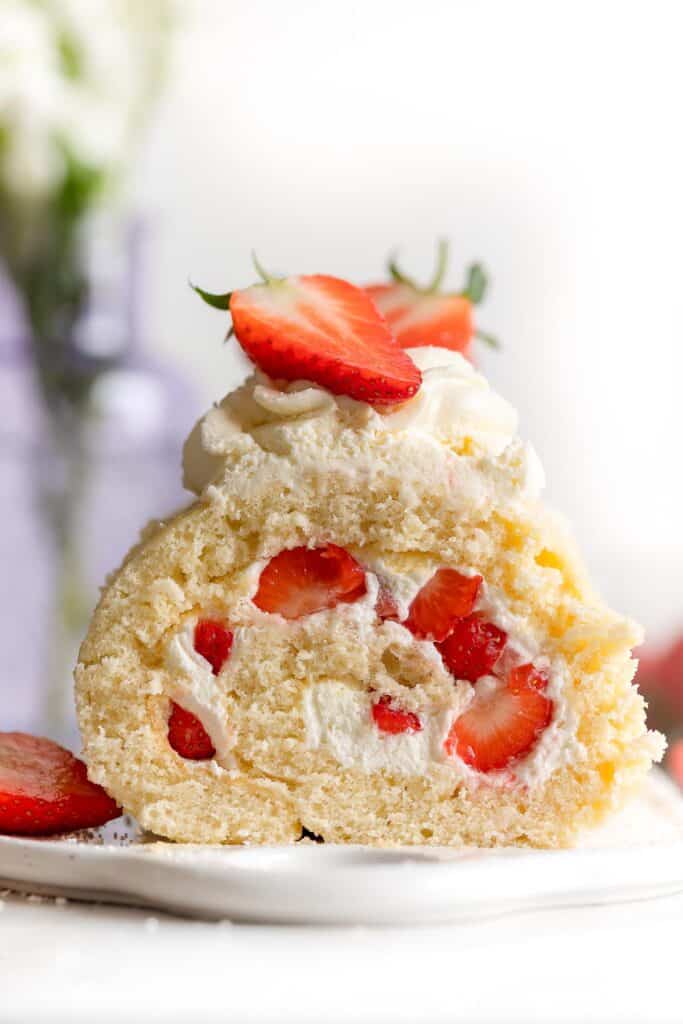
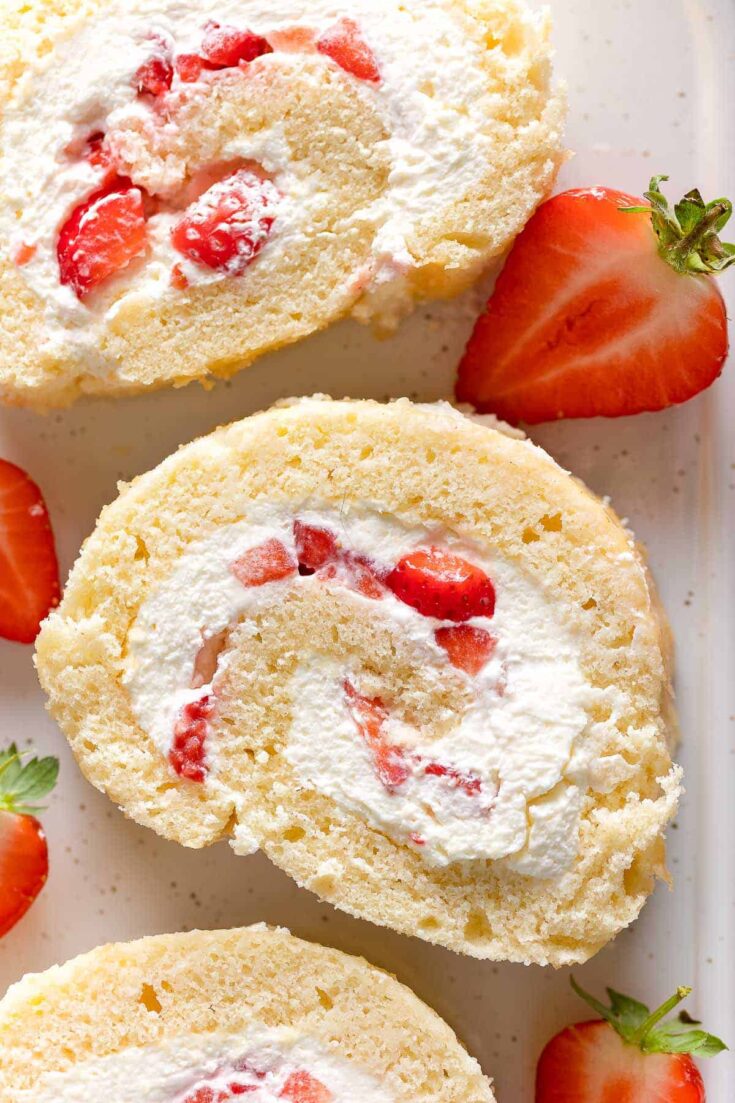
This Gluten Free Swiss Roll cake is so much easier to make than you might think and absolutely delicious! The soft and airy sponge is light and moist, pairing beautifully with the silky mascarpone whipped cream frosting. Fill up with fresh berries, a sprinkling of powdered sugar and enjoy!
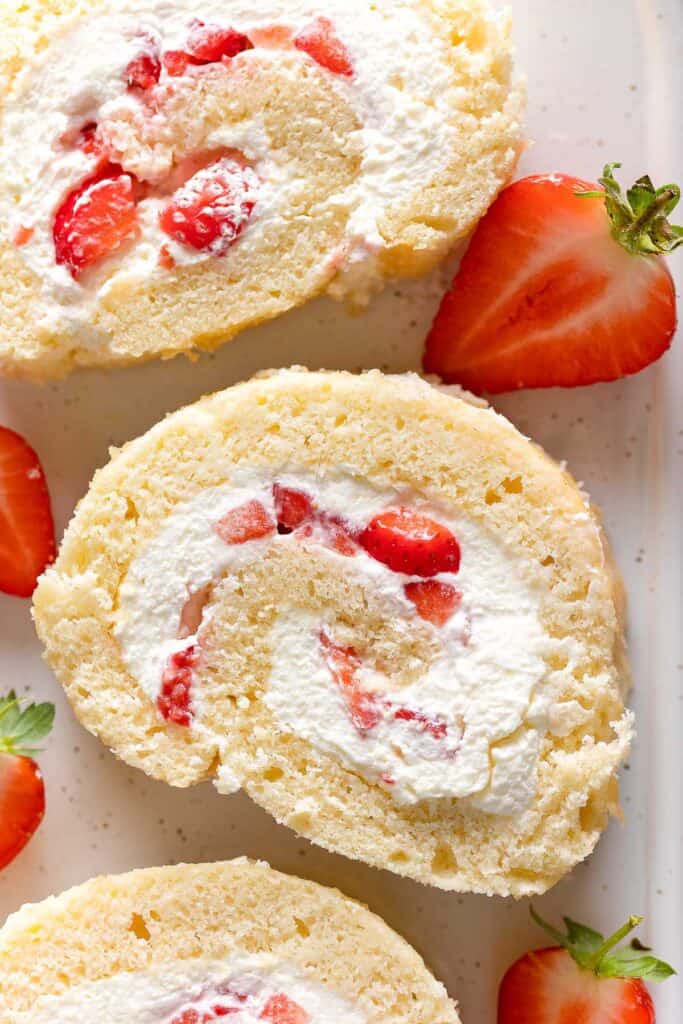
⭐Gluten Free Swiss Roll Highlights⭐
- Simple Ingredients: The gluten free sponge cake is made with basic ingredients that you likely already have on hand.
- Airy Sponge: Beating the eggs and sugar together on a high speed until you reach the ribbon stage means your cake will properly aerated resulting in a light and fluffy sponge.
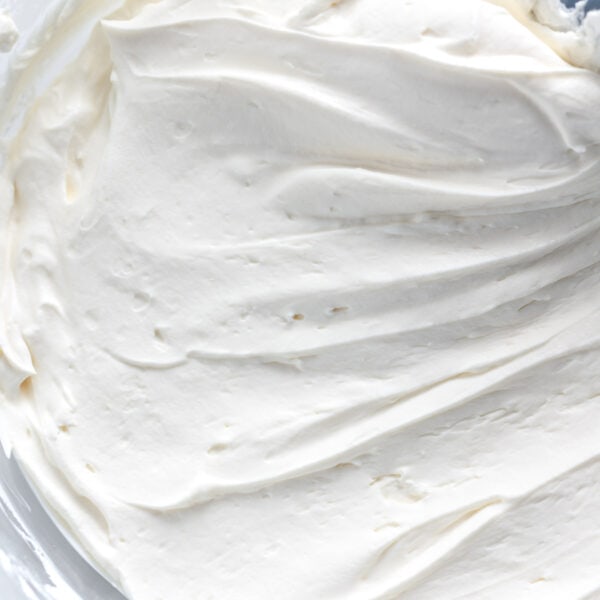
- Silky Whipped Filling: Mascarpone cheese whipped up with sugar and cream makes for a super luxurious whipped cream filling that’s rich, light and not too sweet.
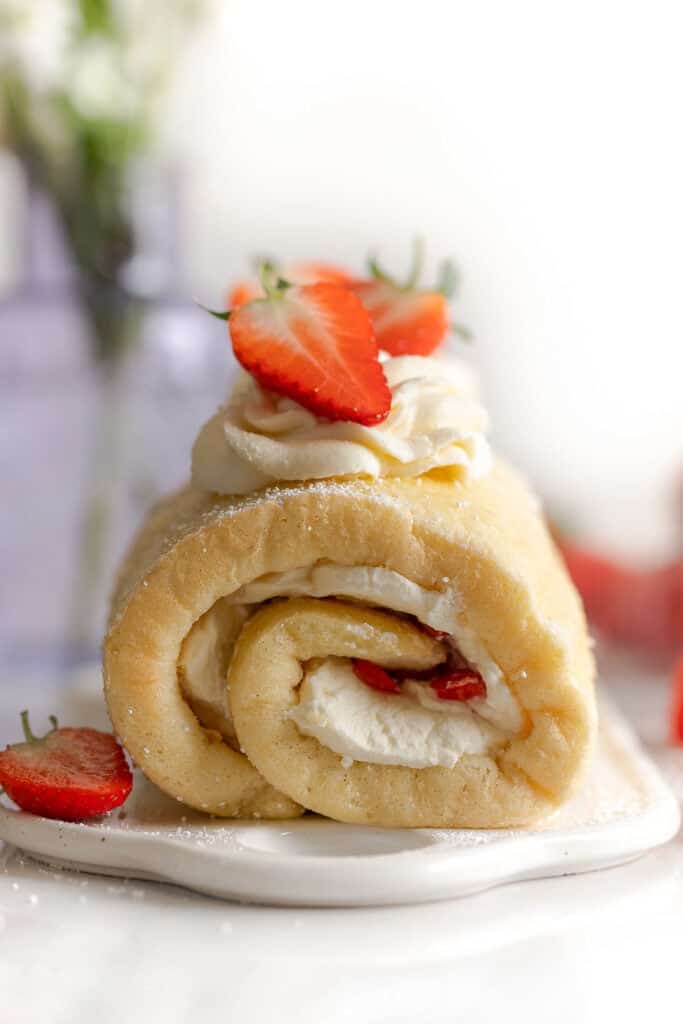
How to Make the GF Sponge
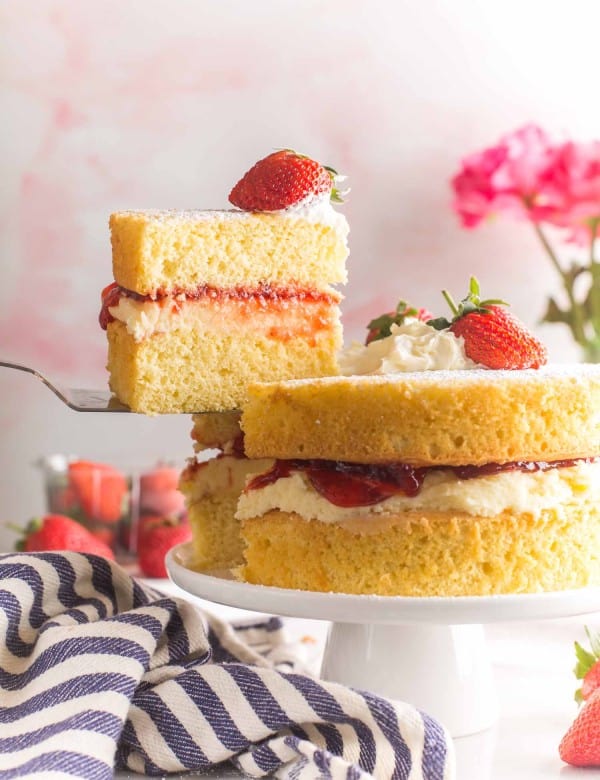
This recipe is based off of my popular Gluten Free Victoria Sponge Cake.
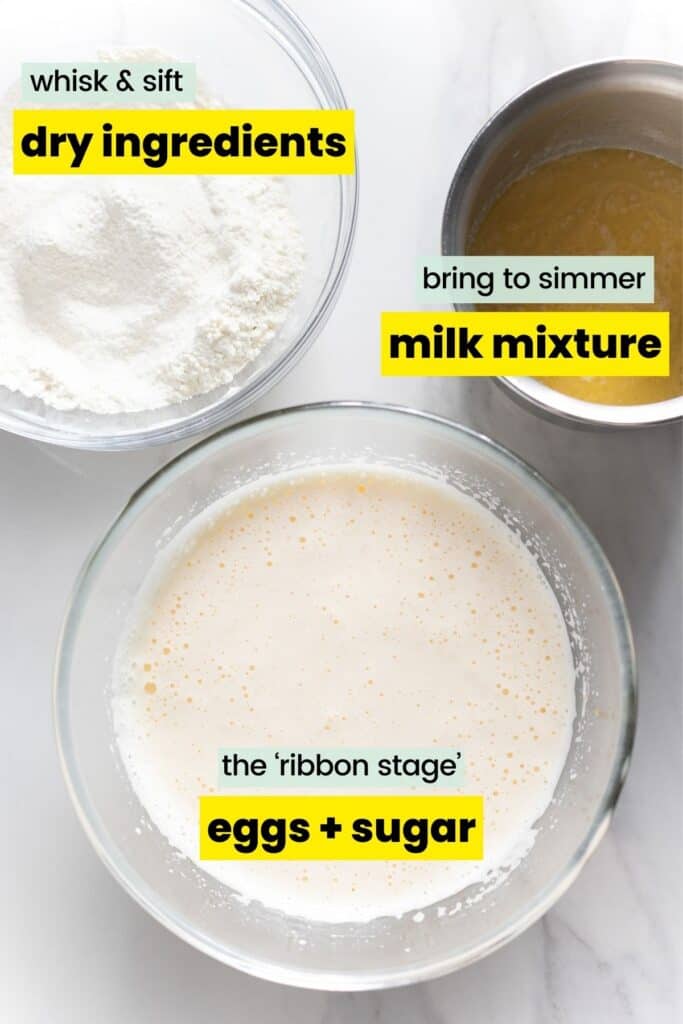
To sum it up simply, the sponge comes together in three stages:
- Dry Ingredients: whisk and sift together.
- Milk Mixture: bring to a gentle simmer.
- Eggs + Butter: beat until you reach the ‘ribbon stage’.
Tools required:
- couple large mixing bowls
- small pot
- stand mixer or electric hand mixer
- sifter or fine mesh strainer
- 9×13 inch swiss roll pan or rimmed baking sheet
What is the ribbon stage?
The ribbon stage is what you get when you beat together eggs and sugar on a high speed until they turn into a thick, pale, foam-like batter.
When you lift up your beaters or whisk attachment from the mixture, the batter that falls off the beaters in ribbons and back into the bowl should remain visible on top for a few seconds before disappearing.
The goal? To incorporate as much air into the mixture as you can. More air = a lighter, fluffier cake.

Fold & Combine
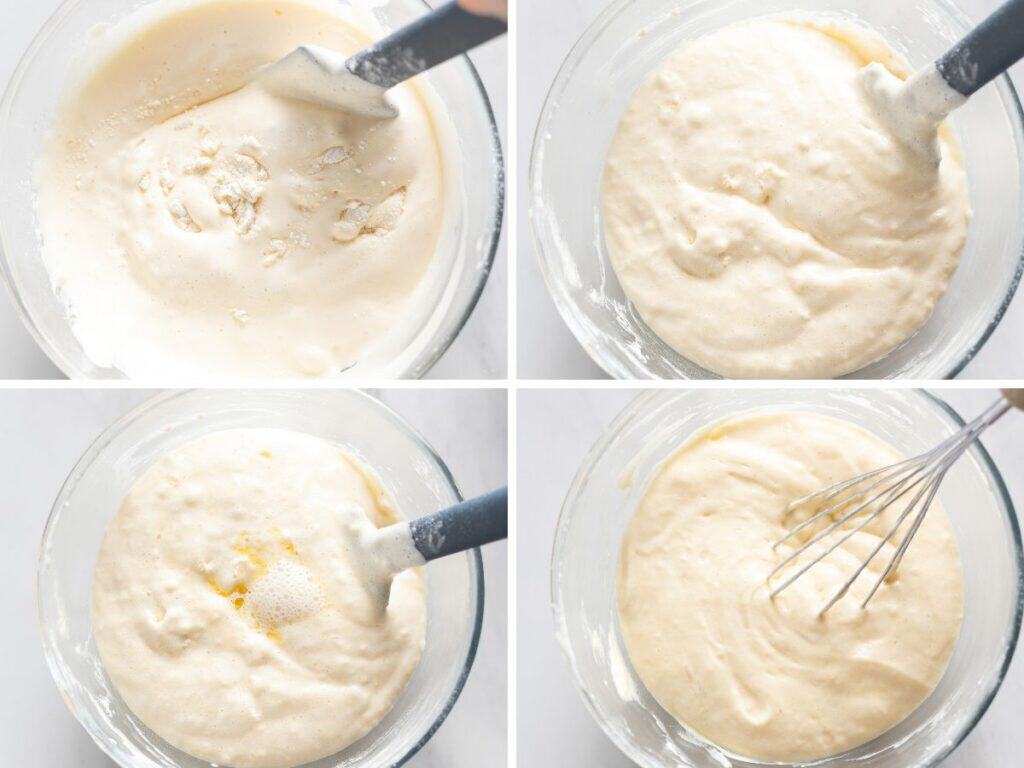
Start by folding the flour mixture into the egg mixture. Work slow and steady to combine. Make big circles in the cake batter as you mix. The idea is to scoop the bottom batter and gently bring it up to the top.
Why fold? ‘Folding’ is basically a way to very gently mix ingredients while keeping as much air in the batter as possible.
Then add the milk mixture to the cake mixture and slowly, but thoroughly mix until fully combined.
Why heat the milk & butter? Adding a hot milk and melted butter to your cake batter makes for an improved, velvety and evenly crumbed cake. It also makes it taste better!
Bake, Flip & Roll
- Prep Tea Towel: While the cake bakes, lay out and lightly dust with powdered sugar. The sugar helps keep the cake from sticking to the towel.
- Flip: Flip the cake on to the prepared towel fresh out of the oven then peel off the parchment paper.
- Roll: Roll from one short end of the cake to the other. Use the towel to help you roll the cake into a log.
- Cool: Place the rolled up cake on a wire rack and leave to cool for a couple of hours.
Tip! Roll In A Clean Tea Towel (Not Paper!)
Tea towels stretch and move with the cake while parchment paper does not. If you try to roll a tight cake log in baking paper there is a good chance the paper will tug on the cake to the point of breaking.

Fill & Chill
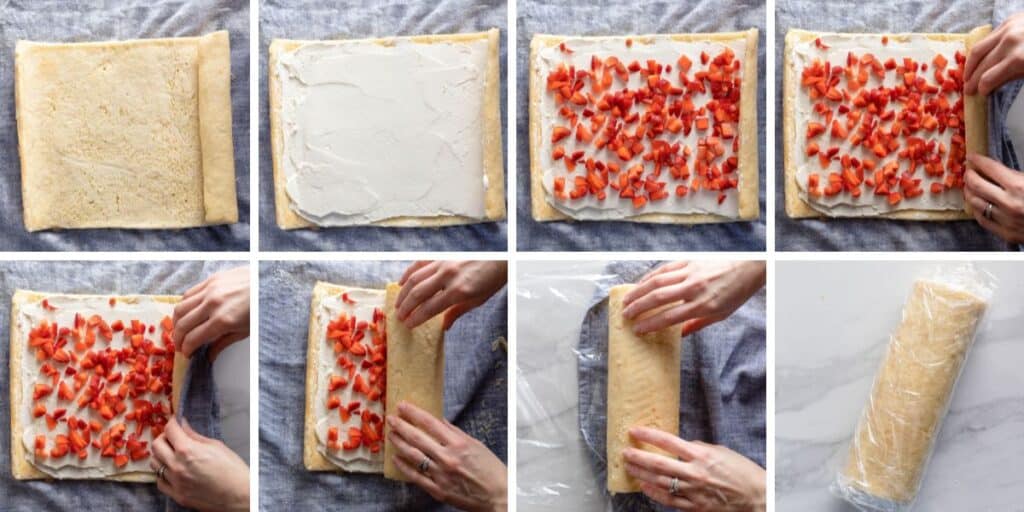
- Unroll: Once fully cooled, gently unroll the cake. The end of the sponge will likely remain slightly curled up – that’s totally fine!
- Frost: Spread the prepared frosting over the cake. Smooth it out in an even layer and bring it right to the ends of the cake edges.
- Berries: Scatter diced berries over the top, then gently press the berries into the cream. This allows you to make a tighter, neater roll.
- Re-roll: Starting at the curled end, roll the cake back up into a log shape.
- Chill : Once rolled, wrap the cake up in plastic wrap then place in the fridge for at least 30 minutes to chill to make neat slices later.
Final Tips
- Create a super nonstick surface: Grease and line pan with greaseproof paper to ensure the cake easily comes out of the pan.
- Roll cake while still warm: Fresh out of the oven, the cake is more soft and pliable. Roll as soon as you can to train the sponge to take the rolled up shape.
- Flip the cake with confidence. It may feel scary, but the slower you move the more likely the cake will fall and land where you don’t want it.
- Roll with a clean kitchen towel: Reduce the chance of cake cracks by using a towel instead parchment paper.
- Chilled Filling Ingredients: Make sure to chill the cheese and cream before whipping to ensure the fat stays cold enough to aerate and whip up into a light and fluffy filling.
More Delicious Gluten Free Cake Recipes
If you like this cake, check out some of my other gluten-free baking recipes!
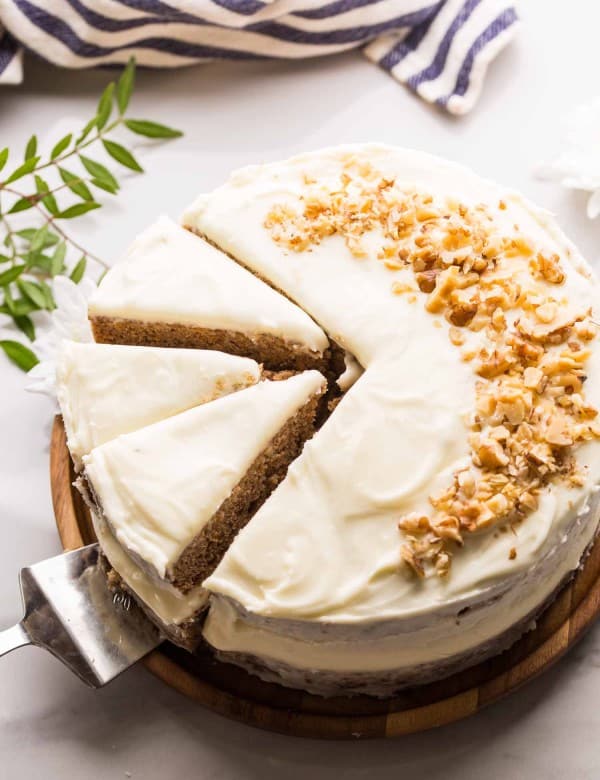
- Gluten Free Carrot Cake
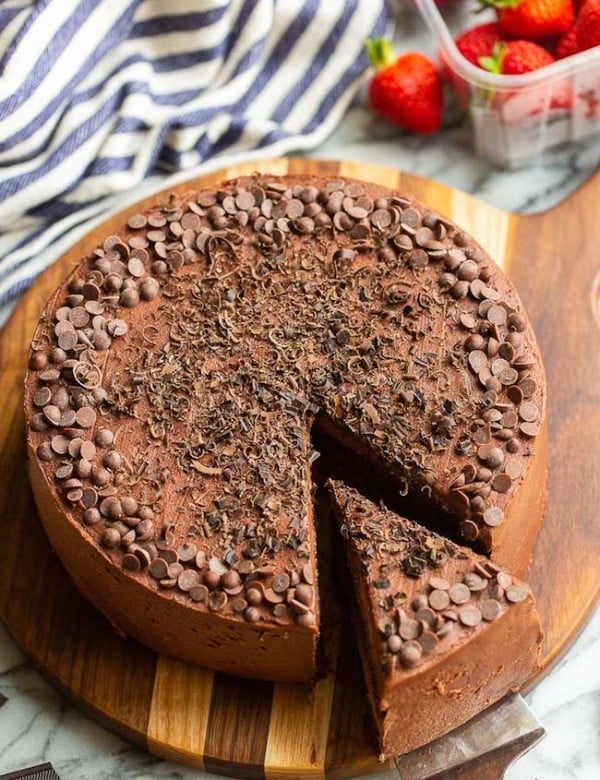
- Gluten Free Chocolate Cake
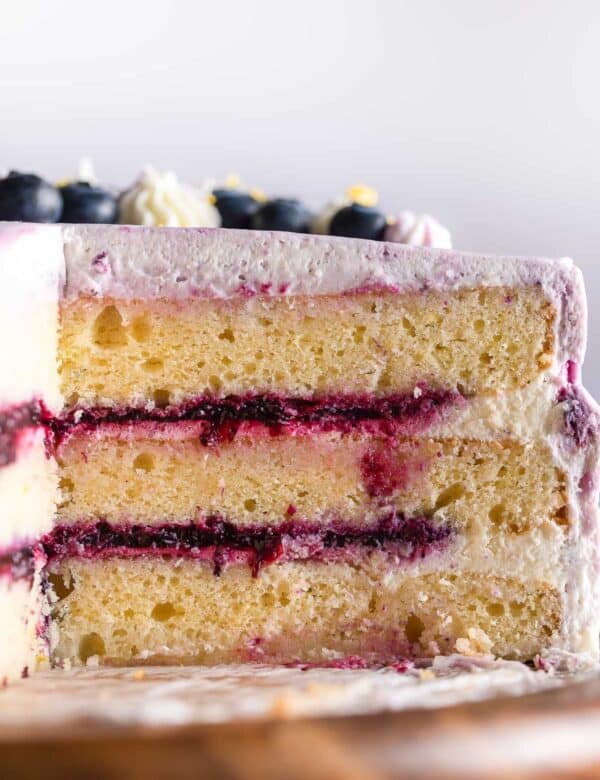
- Gluten Free Lemon Cake With Blueberry Filling
- Gluten Free Banana Cake & Cream Cheese Frosting
- Gluten Free Vegan Vanilla Cake
- Gluten Free Vegan Chocolate Cake
- Gluten Free No Bake Cheesecake
- Gluten Free Tiramisu (Easy Recipe!)
Enjoy!
Let me know if you try this Gluten Free Swiss Roll recipe! Leave a comment and review with your thoughts. I always appreciate the feedback and serving suggestions that you come up with!
Gluten Free Vanilla Swiss Roll
a soft and airy gluten free swiss roll sponge cake rolled and filled with a light and silky mascarpone whipped cream frosting and fresh strawberries
Ingredients
- 1 cup all purpose gluten-free flour blend (140g)
- 1 tsp baking powder
- 1/2 tsp xanthan gum
- 1/4 tsp salt
- 3 large eggs
- 3/4 cup white granulated sugar (150g)
- 1/3 cup milk (80ml)
- 2 tbsp butter (30g)
- 1 tsp vanilla extract
Filling
- 3/4 cup cold mascarpone cheese (180g)
- 1/2 cup white sugar (100g)
- 1 tsp vanilla extract (5ml)
- 1 cup cold heavy cream [whipping cream in the UK] (180ml)
- 1 cup diced fresh strawberries, measure after dicing (170g)
Instructions
- Preheat the oven to 350°C (175°C). Lightly grease and line a 9 X 13-inch (22x33cm) jelly roll pan. Lightly grease the parchment paper as well. Set aside.
- In a large mixing bowl: sift together the flour, xanthan gum, baking powder and salt. Sift until well combined. Set aside.
- In a small pot: warm milk, butter and vanilla extract over a medium-low heat until the butter has melted and it's just barely started to simmer.
- Add eggs and sugar to another large bowl. Beat on high about 3-5 minutes until the mixture is pale-yellow, thick, glossy and has tripled in volume.
- Add the dry ingredients to the eggs mixture. Gently fold together with a wooden spoon or rubber spatula until just combined, then add the milk mixture. Mix gently with a large whisk until no lumps remain.
- Pour and smooth batter on to the prepared pan into an even layer. Bake in the middle of the oven for 9-11 minutes or until the cake springs bake up when you gently poke it. Remove from oven.
- While the cake bakes, lay a thin kitchen towel flat on the counter then sift a light dusting of powdered/icing sugar over the towel. Right after the cake comes out of the oven, flip out onto the towel so that the top of the cake is face down in the powdered sugar. Peel off the baking paper.
- Start with the short edge of the cake and gently roll up with the towel into a tight log. Do this ASAP while the cake is still warm. Place on a wire rack and let the cake cool completely in the towel for a few hours at room temperature.
- Filling: Add cheese and sugar to a clean bowl of a stand mixer or mixing bowl. Beat on high 1-2 minutes until thick and creamy. Mix in vanilla extract. Add heavy cream. With the mixer on a medium-low speed, slowly add the heavy cream. Once added, increase to a high speed and beat another 1-2 minutes until stiff peaks form. Time may vary depending on temperature. If you gently shake the bowl, the frosting shouldn't move much.
- Carefully unroll the cake. Spread filling evenly on top, then scatter the berries over the top. Gently and slowly roll the cake back up into a tight log, without the towel. Cover in plastic wrap then place the rolled cake in the fridge for at least 20 minutes to firm up before slicing and serving.
- Dust with powdered sugar and top with leftover frosting and more berries if desired and enjoy.
Notes
- If you cool the cake in the fridge before adding the filling, make sure to take it out and let sit at room temperature for about 15-20 minutes before you unroll it.
- Make sure you flip and roll the sponge while still warm and use a tea towel to roll - not parchment paper.
- Feel free to swap out the strawberries for blueberries or raspberries if you prefer. I don't recommend using frozen/thawed berries as they will have more water/moisture.
- Leftovers: Cover in plastic wrap or keep in an airtight container in the fridge up to 3 days.



Leave a Review!