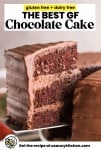
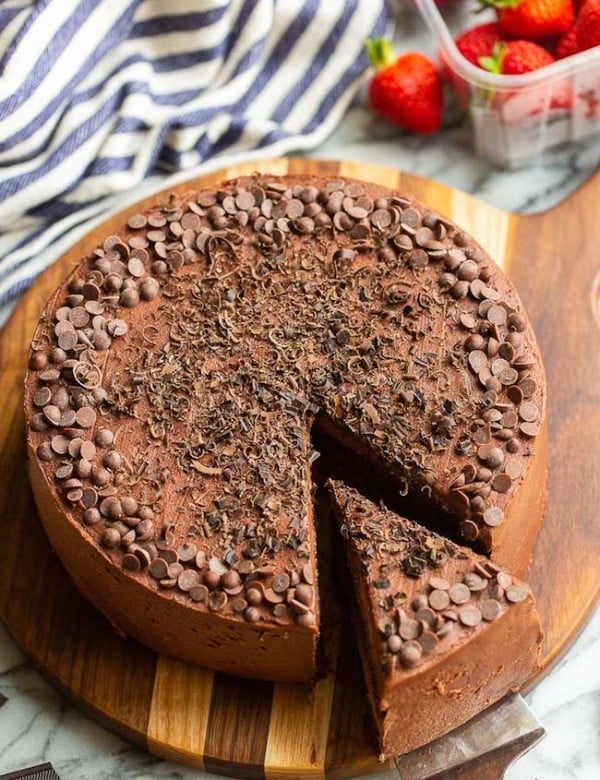
Stop the google search and settle in because this is the BEST gluten-free chocolate cake recipe that you’re going to find. It’s easy to make, made with basic pantry essentials that you likely already have on hand and can be quickly mixed and prepped all in one bowl. This is my favourite, go-to gluten-free chocolate layer cake that I make for every special occasion. It’s got a super moist crumb, an ultra fudgy flavour and a light texture to really amp up the wow-factor. Top it off with a chocolate ganache or buttercream and enjoy! This recipe also includes a dairy free option. Make sure to check out my vegan chocolate cake recipe if you need an egg-free version!
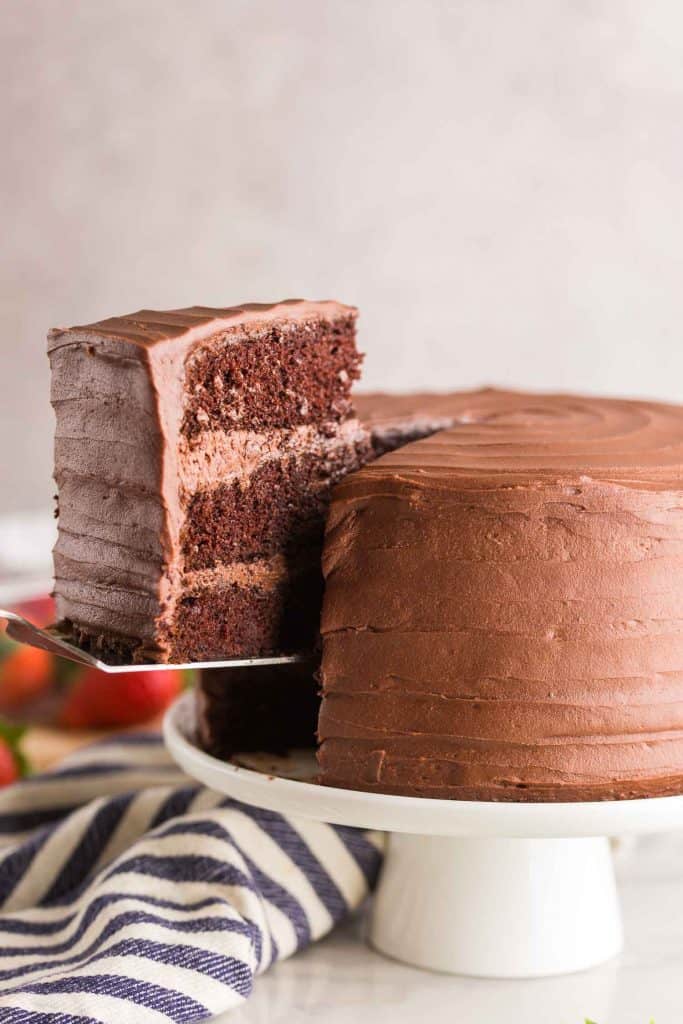
Life Changing Gluten Free Chocolate Cake
I usually try to avoid using headlines like ‘life-changing’ or ‘best-ever’ because it feels a bit hacky, but I think in this case this really has been a life changing gluten free chocolate cake (at least in my case!).
This chocolate cake recipe is actually one of the first recipes I ever shared and is probably the exact reason why I created A Saucy Kitchen in the first place. It’s the recipe I used when I made my own gluten free wedding cake. I won’t get deep into the details because I know we’re all just here for the chocolate (naturally) but I credit this cake and it’s reputation for giving me the idea to start this recipe site.
The Recipe
Since I was new to gluten free baking at the time that I first made this cake, I wanted to start off with a solid recipe as the foundation. That’s why I based this recipe off of Hershey’s Perfectly Chocolate Chocolate Cake. The basic framework of this recipe is the same but there are a few changes to key ingredients that I made to make it more gluten free friendly:
- Made with an all purpose gluten free flour blend.
- Added xanthan gum for extra binding and structural support.
- Added an extra egg for increased moisture.
- Used coffee in place of water to boost the rich, chocolatey flavour.
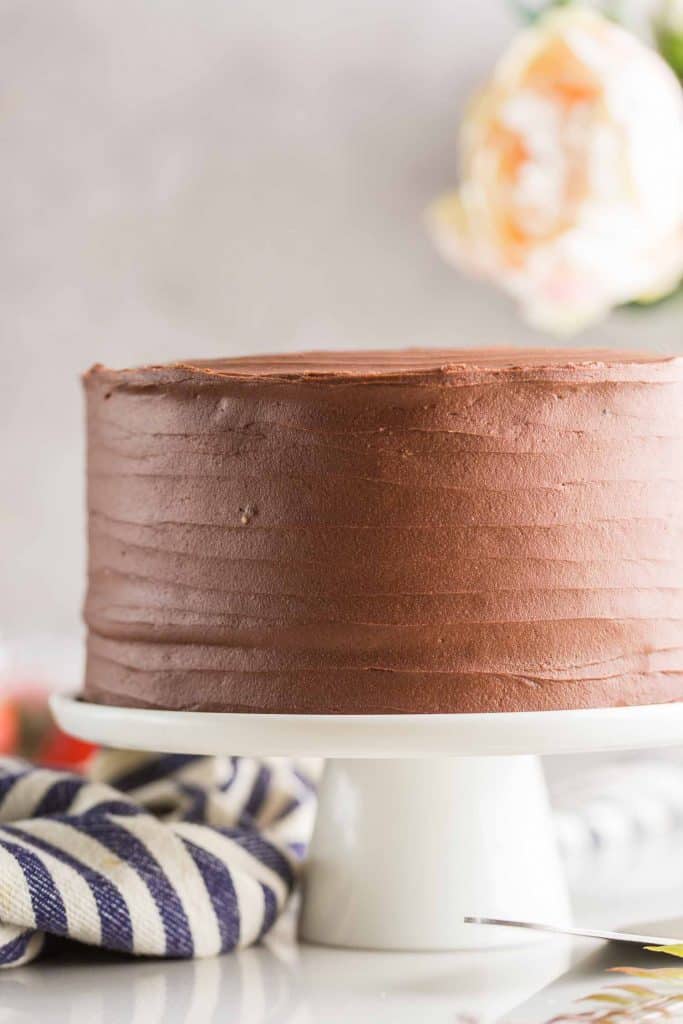
How to Make this Gluten Free Chocolate Cake
The Ingredients
Each ingredient here serves an important role in making this cake what it is. Breaking it down bit by bit:
- Gluten Free All Purpose Flour – use your favourite here. I’ve made this cake countless times over the years with quite a few different gluten-free flour blends. So long as you use a general GF all purpose blend whether it’s homemade or store bought this will work.
- Baking Powder & Baking Soda – These are partially what’s responsible for making the cake rise.
- Xanthan Gum – Xanthan gum does two important things in this recipe:
- It helps bind things together making for a better shape and texture.
- It helps lock-in moisture so baked goods don’t dry out.
- Unsweetened Cocoa Powder – provides the rich, chocolatey flavour.
- Sugar – just use a regular caster or granulated sugar. Coconut sugar will also work here if you like.
- Salt & Vanilla Extract – A pinch of salt goes a long way in enhancing overall flavour in a recipe and you can’t have a chocolate cake without a boost of vanilla.
- Eggs – The moisture and fat from the eggs makes for a richer, moister cake.
- Milk – You can use a dairy or dairy-free milk substitute. Over the years I’ve made this using dairy milk, coconut milk, almond milk – anything goes!
- Oil – Adds moisture. Oil should be used instead of butter because it has a higher fat content which is important to use alongside the cocoa powder. I used to use coconut oil but these days I stick to vegetable oil because it’s cheaper and just as effective.
- Hot Coffee – Hot liquids and coffee enhance chocolate flavours. Additionally, the hot temperature helps to dissolve the cocoa powder for a smoother batter. You won’t actually taste coffee in the end, but if you’d still prefer to make this without coffee you can use hot water here instead.
The Cake Batter
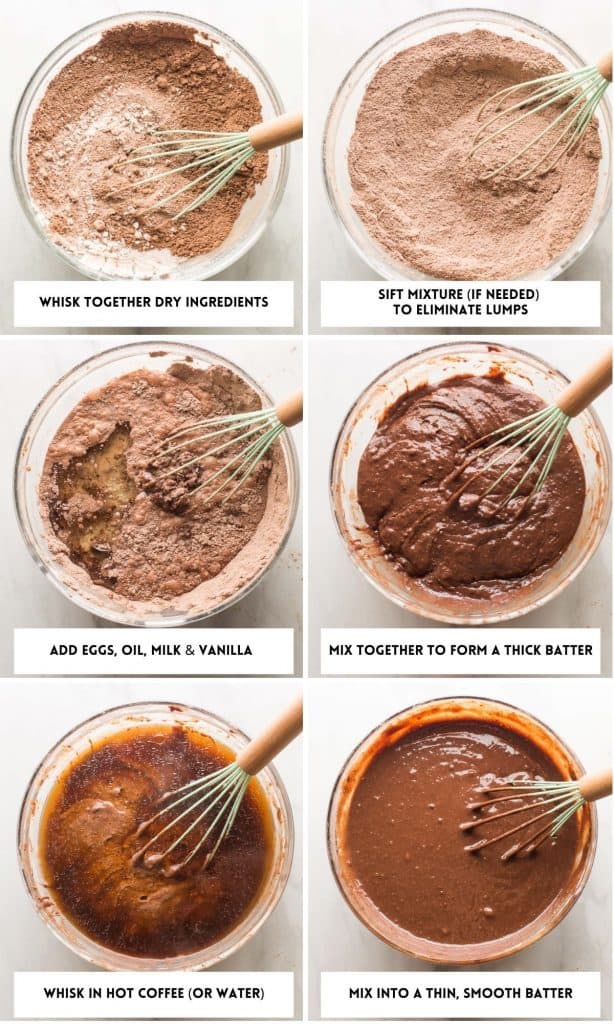
One of the best things about this cake is just how easy it is to make! The preparation basically comes down to a few simple steps:
You can mix this batter entirely by hand if you’d like. You can also use a hand mixer or stand mixer and mix everything together on a medium speed to make things easier for you.
- Whisk together the dry ingredients in a large bowl.
- Sift the flour and cocoa powder if lumpy.
- Mix in most of the wet ingredients: eggs, oil, milk and vanilla until a thick batter forms.
- Room temperature ingredients are ideal here. If you use coconut oil you must use warm or room temperature ingredients or else the oil will solidify and become lumpy.
- Stir in the hot coffee until a thin, smooth batter forms.
- Feel free to swap out the coffee for boiling water if you prefer.
Bake, Cool & Frost
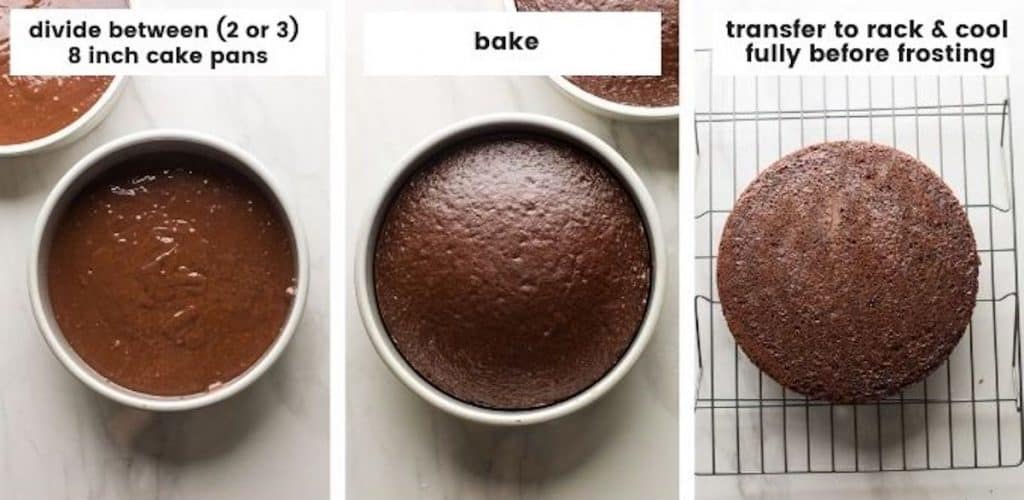
Once mixed, simply divide between two or three 8 inch prepared cake pans, bake and that’s it! Grease the pans well with oil and line the bottom of the pans with a sheet of parchment paper to ensure that the cakes can be easily removed from the pans.
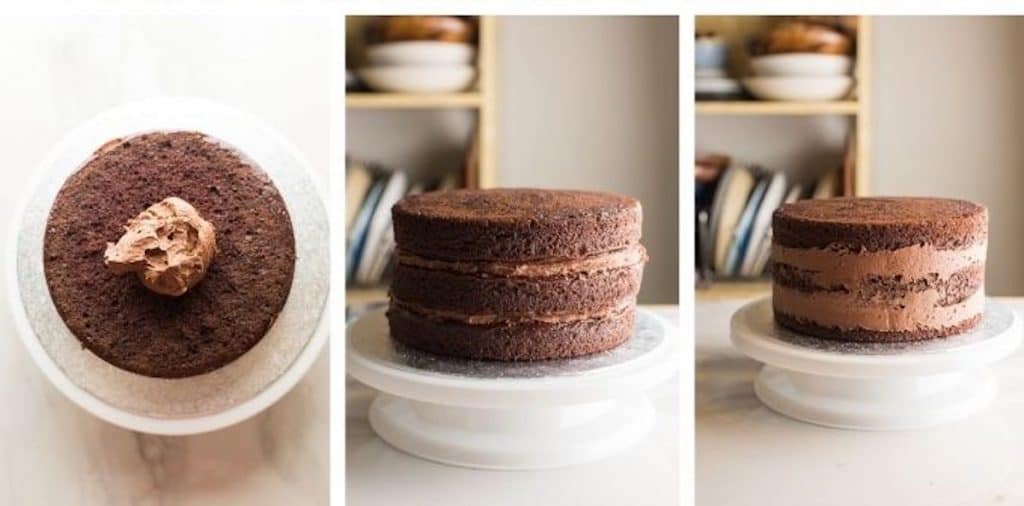
After baking let the cake cool for a minute or two before transferring to a wire rack to finish cooling. It’s important that you let the cake fully cool down after baking to ensure that the frosting doesn’t melt into the cake as you frost. Take the cooling time to clean up any residual cake mess and prep your chocolate buttercream so that you’re ready to go.
FAQ’s
What type of flour should I use?
- Any general gluten free flour blend should work here whether it’s homemade or store bought. Just make sure that you’re using an all purpose blend and not just one type of flour (like just rice flour or tapioca starch). When I originally shared this recipe I specifically recommend Bob’s Red Mill cup for cup – and while that’s still a great flour blend, I’ve had success making this cake using a variety of different flours.
Can I make this cake grain free? Can I make this cake healthier?
- No. This recipe is for a standard, traditional decadent gluten free chocolate cake. If you’re looking for more healthy gluten free chocolate cake/muffin recipes I can however recommend a few other recipes you might be more interested in:
- Healthier Chocolate Recipes:
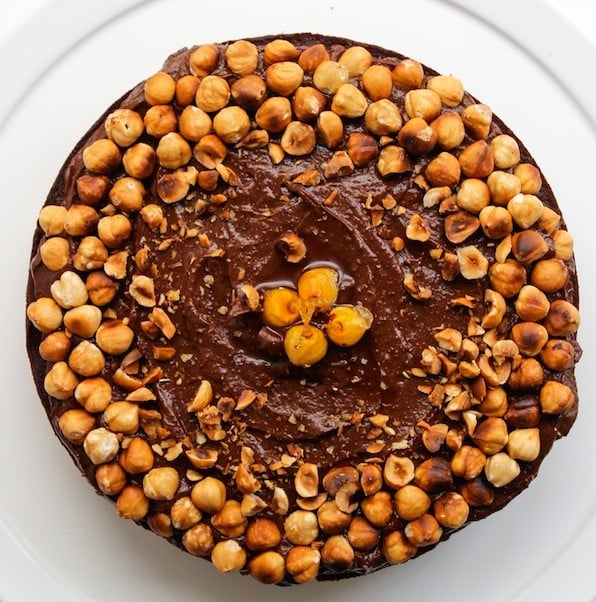
- Paleo Chocolate Hazelnut Cake – this recipe is made with coconut flour and almond flour. It can be made without hazelnuts to make a plain chocolate cake.
- Paleo Chocolate Banana Muffins
- Paleo Vegan Chocolate Muffins
- Paleo Vegan Chocolate Frosting (made with sweet potatoes)
- Healthier Gluten Free Cakes You Might Like:
- Healthier Chocolate Recipes:
How can I make this gluten free chocolate cake dairy free?
- Easy! Just use dairy free milk in place of dairy milk and vegan butter in place of the dairy butter in the frosting.
Can I freeze this cake?
Yes! There are a couple of different ways you can go about freezing this cake:
- You can freeze the unfrosted cake layers. After baking allow your cakes to completely cool. Once fully cooled, wrap your cakes in plastic wrap then wrap again in a layer or two of foil. Once wrapped you can freeze your baked layers for up to three months. Let the cake defrost in the fridge (about 12 hours) when you’re ready to use. Make sure to write out the date and label on your cake before storing it.
- You can freeze the frosted, finished cake. I recommend freezing the cake in individual slices so that you don’t have to defrost the entire cake just for one slice. Wrap in plastic wrap then wrap in foil or place in a freezer safe container. Keep frozen up to three months. Allow to defrost in the fridge before eating.
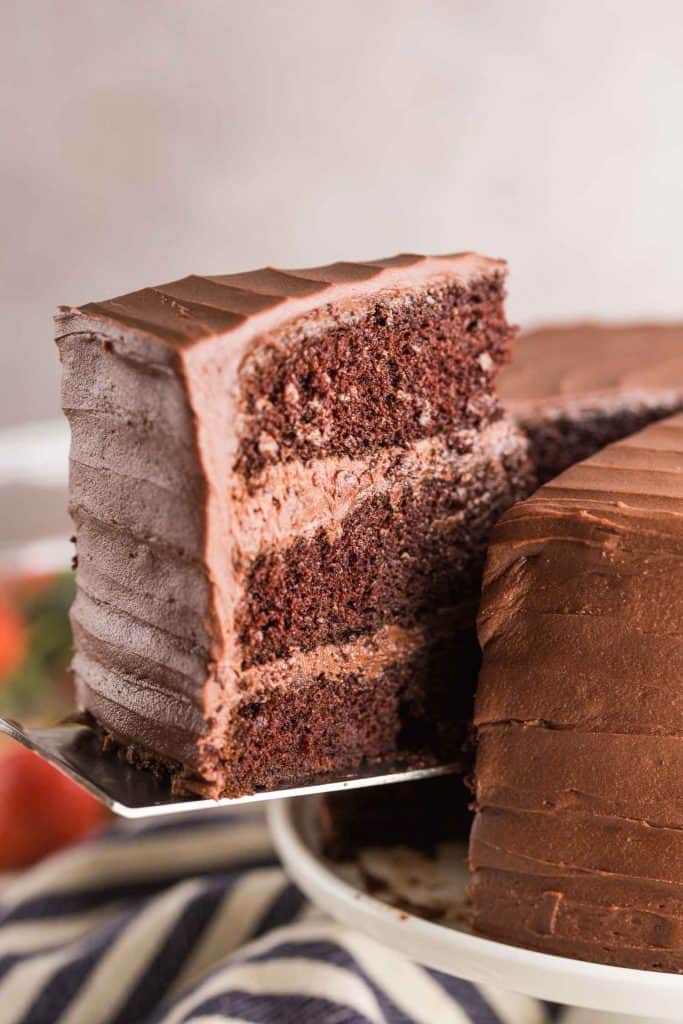
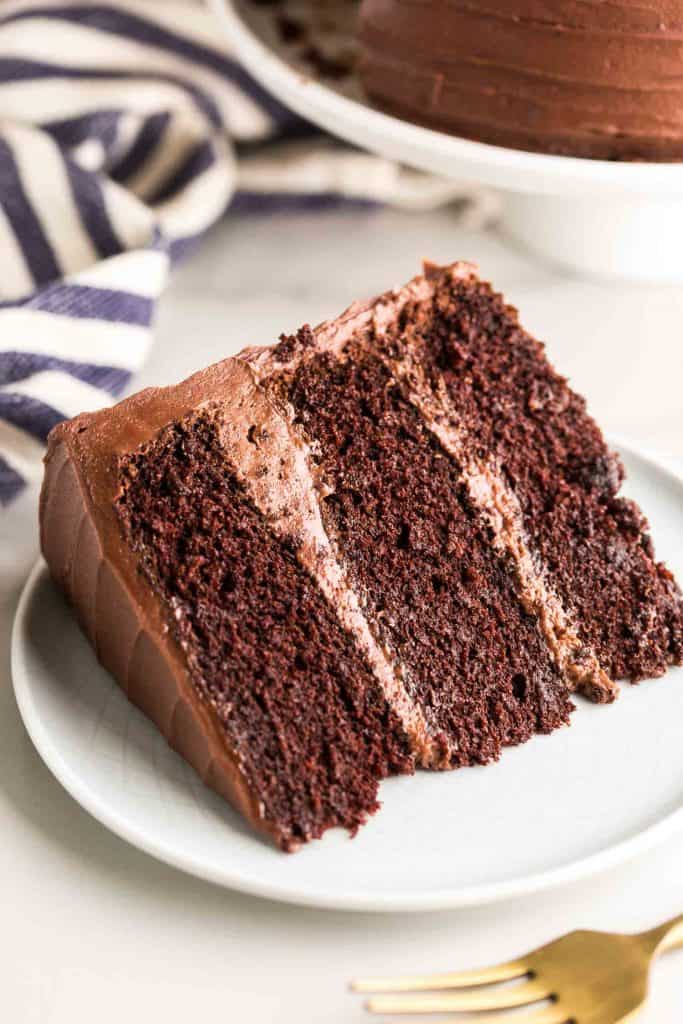
And that’s it! A rich, decadent and super delicious gluten free chocolate cake – just that easy! This cake keeps well for up to a week. You can keep in stored at room temperature for about 3-4 days, but I recommend keeping it covered or in an airtight container in the fridge for 6-7 days.
If you do try this cake please let me know how it goes!
Gluten Free Chocolate Cake
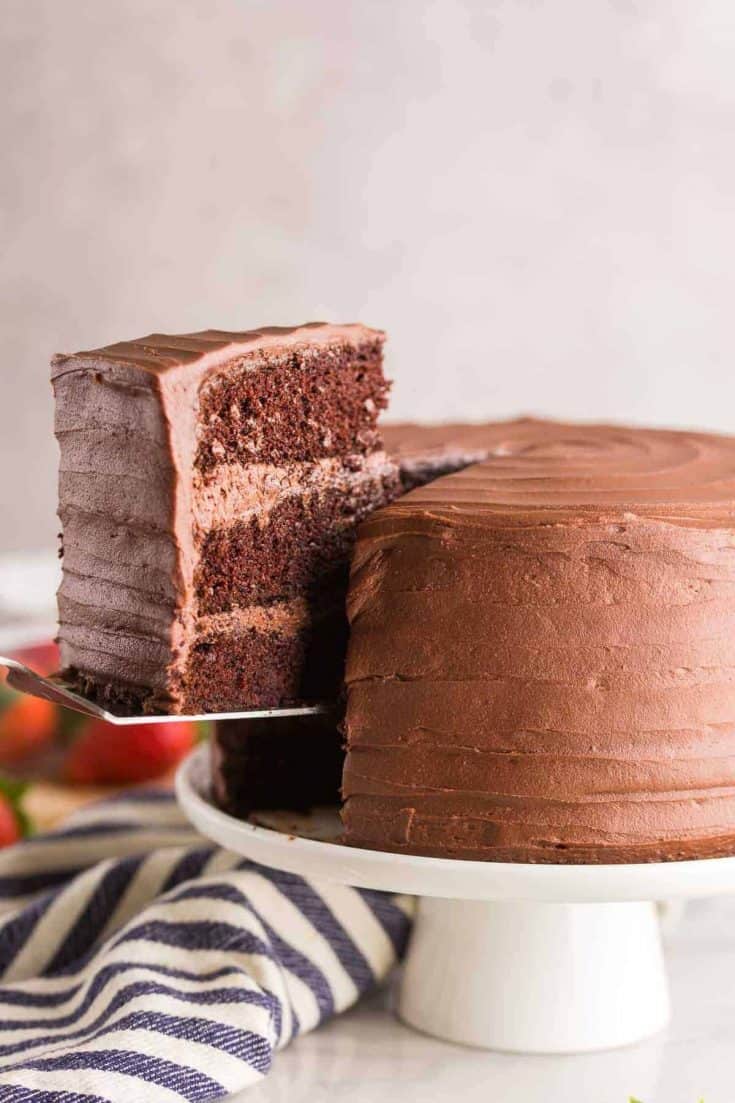
It's got a super moist crumb, an ultra fudgy flavour and a light texture to really amp up the wow-factor. Top it off with a chocolate ganache or buttercream and enjoy!
Ingredients
Chocolate Cake
- 1 3/4 cup | 245 grams gluten free flour blend
- 3/4 teaspoon xanthan gum, (omit if your gf flour has xanthan)
- 2 cups | 400 g sugar
- 3/4 cup | 85 grams cocoa powder
- 1 1/2 teaspoon baking powder
- 1 1/2 teaspoon baking soda
- 1 teaspoon salt
- 3 eggs at room temperature
- 1 cup | 240 ml milk (can be dairy free if needed)
- 1/2 cup | 120 ml vegetable oil
- 2 teaspoons vanilla extract
- 1 cup | 240 ml hot coffee
Chocolate Buttercream
- 1 1/4 cup | 284 g softened room temperature butter (can be vegan butter if needed)
- 3/4 cup | 85 grams cocoa powder
- 4 cups | 500 grams powdered/icing sugar
- 1 teaspoon vanilla extract
- 4-5 tablespoons | 60- 75 ml milk (dairy free if needed)
- Pinch of salt
Instructions
Cake
- Preheat your oven to 350°F/180°C. Grease and line the bottoms of two 8 inch round cakes. Set aside.
- In a large mixing bowl, whisk together the dry ingredients: flour, xanthan gum, sugar, cocoa powder, baking soda, baking powder and salt.
- Mix in the eggs until combined. Add the oil, milk, and vanilla and mix until smooth.
- Stir in the hot coffee until combined. You should have a smooth, thin, batter.
- Pour the batter into the two prepared cake tins. Gently lift up the tins and drop them on a counter/table surface to get rid of air bubbles.
- Place in the middle of the oven and bake for 30-35 minutes or until a tooth pick comes out clean when inserted into the centre. Allow the cakes to cool for a few minutes before removing from the tins and and transferring to a wire cooling rack to cool completely before frosting.
Chocolate Buttercream
- In a large mixing bowl beat together the butter with an electric mixer on medium until smooth and creamy
- Add the cocoa powder, half of icing sugar, vanilla extract and pinch of salt. Beat on a low speed until combined. Add the remaining icing sugar and 4 tablespoons of milk. Mix about 1 minute. If the frosting is too thin, add about 1/4 cup of icing sugar. If it's too thick add another 1-2 tablespoons milk.
Assemble & Frost
- If your cooled cakes are domed at the top, use a serrated knife to cut off the domed tops. The even cake layers will be easier to frost and assemble.
- Place your first cake layer on your plate or cake board. Top with about 1/2-1 cup of frosting and smooth out in an even layer. Repeat with the second layer and smooth frosting over the top and sides of the cake as desired.
- Refrigerate cake at least 30 minutes before slicing and serving and enjoy.
Notes
- Leftovers will keep 3-4 days at room temperature before it starts to dry out. Keep covered in the fridge for up to a week.
- To make a three layer cake for 28-30 minutes.

Dayna says
Hi Sarah,
I was wondering if using a gluten free self raising flour would work here?
Sarah Nevins says
Hi Dayna! That shouldn’t be a problem – I just recommend you don’t add any extra baking powder as the self-rising flour should cover that. Hope you enjoy the cake!
Siya says
Hi!
I halved the recipe and made it into cupcakes instead. But they all turned out really rubbery and completely inedible 🙁
What do you think happened?
Sarah Nevins says
Hi Siya! Oh no! Baking this cake into cupcakes shouldn’t have been a problem on its own, but hopefully I can help you troubleshoot what might have gone wrong.
A couple of things that might have made for a rubbery cake –
What brand of flour did you use? Rubbery textures in gluten free baked goods often happen when there is too much starch or binding agents (like xanthan gum).
How did you measure you ingredients – cups or weights? Rubbery/dense textures can also sometimes occur when there is an imbalance of wet and dry ingredients. If you used cups there might have been some issues getting the amounts accurate when halving certain ingredients. I can image getting half of 3/4 cup cocoa powder could be tricky without proper cups and using 1 1/2 eggs might have made things a bit wonky.
Siya says
Ahh yes it was a bit of a trouble halving the eggs. The brand of flour I used is Freee plain flour but I haven’t had trouble with it before so I think it must have been the eggs 😂😭
Thank you!
Sarah Nevins says
Ooh yeah, I usually use Freee plain flour too! I’m thinking the eggs might have been the culprit in that case
Keala says
I finally found my go-to gluten free cake recipe! Thank you! It is so moist and could honestly fool me for not being GF!
Sarah Nevins says
Fantastic! So glad you enjoyed it so much – thanks Keala! 🙂
Laura Randolph says
I LOVE that you include the what, how, why of the ingredients, explaining what each ingredient does, how it does it, and why that’s important. It gives us the information necessary to play with and modify the recipe as needed or wanted. I’ve never seen this information included in recipes – It is empowering. It also fits my personality: If I know the why, understand the reasons, I can perform better with a better outcome. This guidance allows for open eyed creativity, instead of a rote step by step recipe. Thanks!
Sarah Nevins says
Hi Laura! That makes me SO happy to hear because that’s exactly my goal! (The original name for this website when it was on blogspot was actually empowered kitchen!). I haven’t always included that extra info, but I know that I like to know the ‘why’ behind everything so I started to add it in. Now I just need to finish going through all the old recipes to do the same 🙂
Ellie says
This cake is amazing!!
Sarah Nevins says
Thanks Ellie!