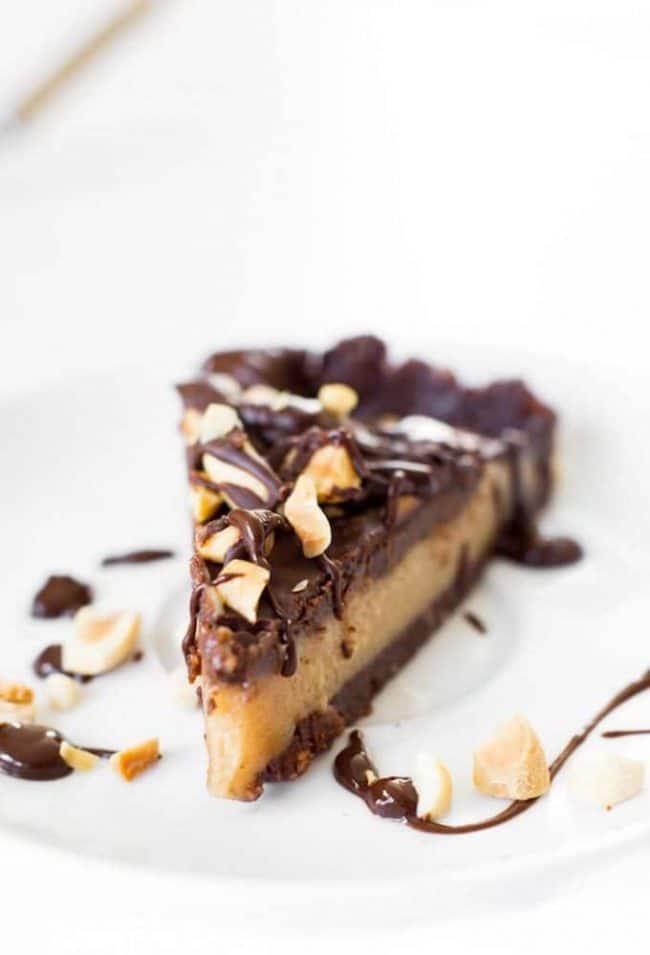
Creamy, dreamy Frozen Vegan Peanut Butter Cup Pie – Made with less than 10 ingredients & easy to make! Grain Free + Vegan + Paleo Option
It’s been about 5 minutes since I last shared a peanut butter + chocolate recipe on here so clearly it’s time for a little more PB love.
If you’re into crazy delicious, no bake summer treats that are equal parts easy and downright decadent, then scroll on my friend. Scroll on.
Making of: Frozen Gluten Free + Vegan Peanut Butter Cup Pie
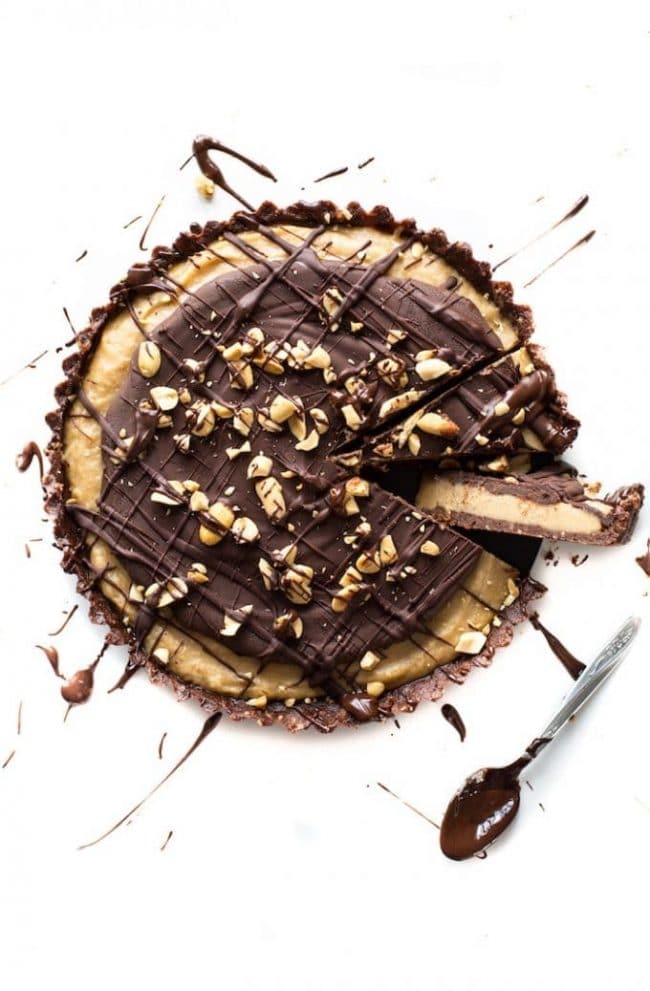
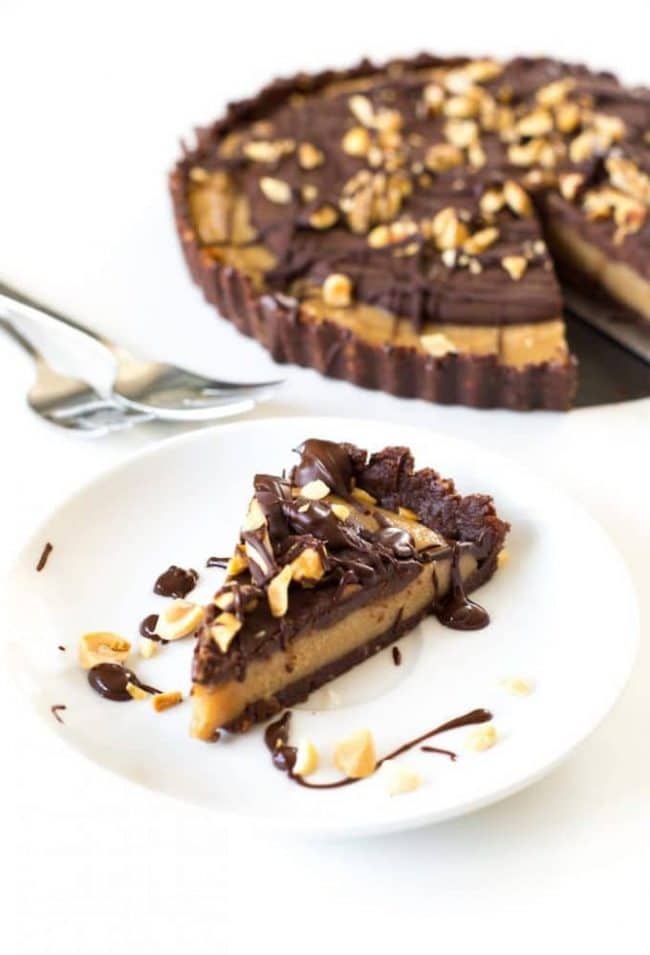
As I just mentioned, making this frozen peanut butter pie is super simple! It’s made up of three parts:
🌟A naturally sweetened nut and date chocolate crust
🌟An airy, light peanut butter & coconut cream filling
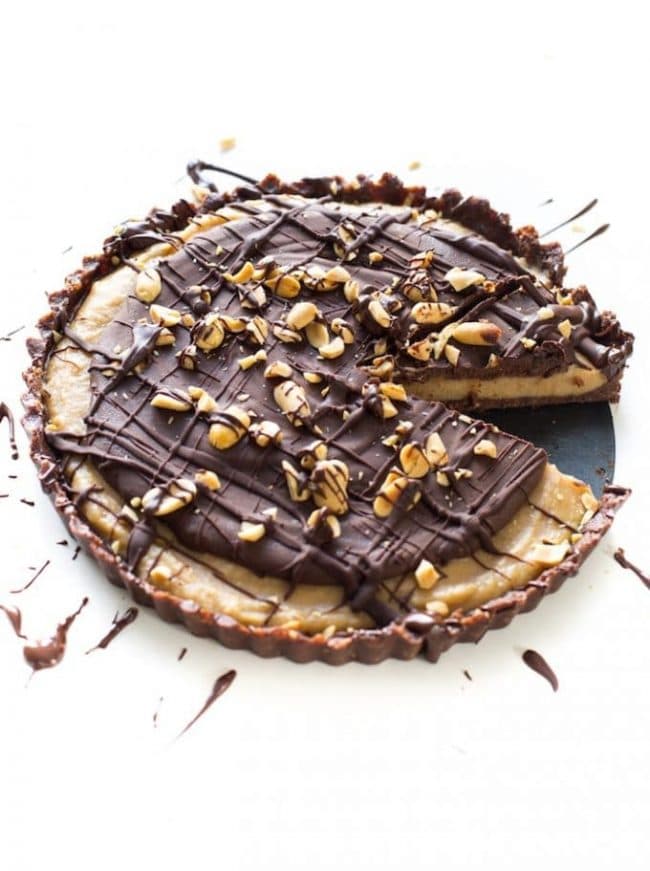
🌟A silky smooth chocolate ganache topping
Basically every peanut butter & chocolate lovers dream.
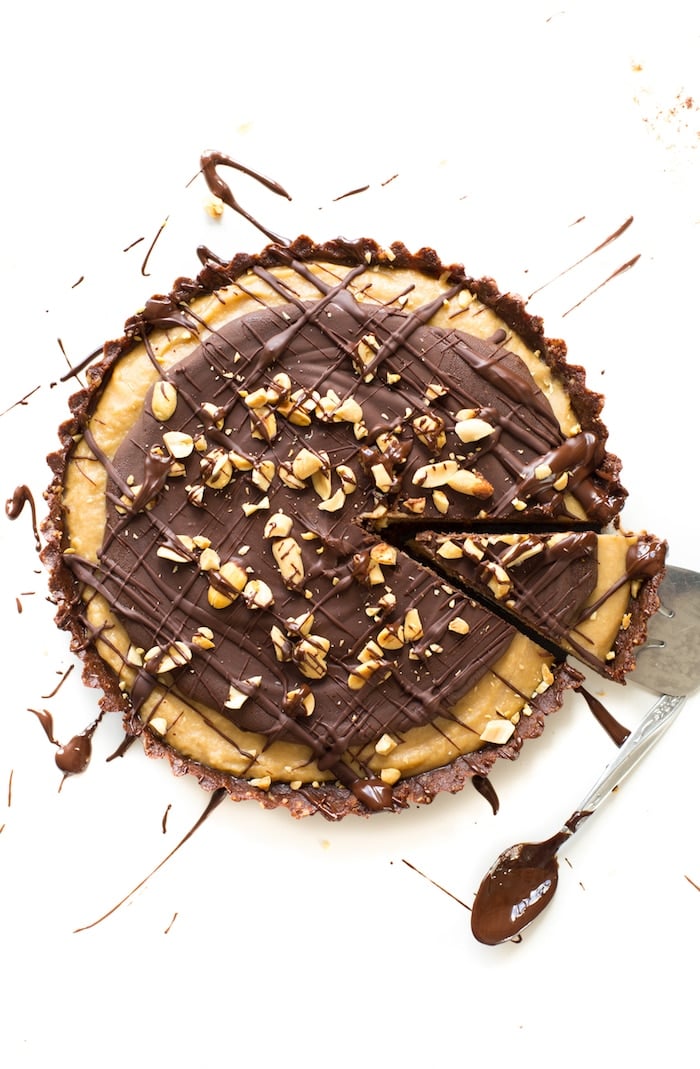
Assembling this pie really only takes about 15ish minutes and requires less then 10-ingredients. You will need to let this set in the freezer for at least 30 minutes before serving to firm up a little bit.
I’ve made this twice in the past week alone and thank goodness we’ve had friends over to help us get through this pie. A little bit really does go a long way here in terms of serving size. Just a little slice is all you need to satisfy even the most intense chocolate craving.
Enjoy!
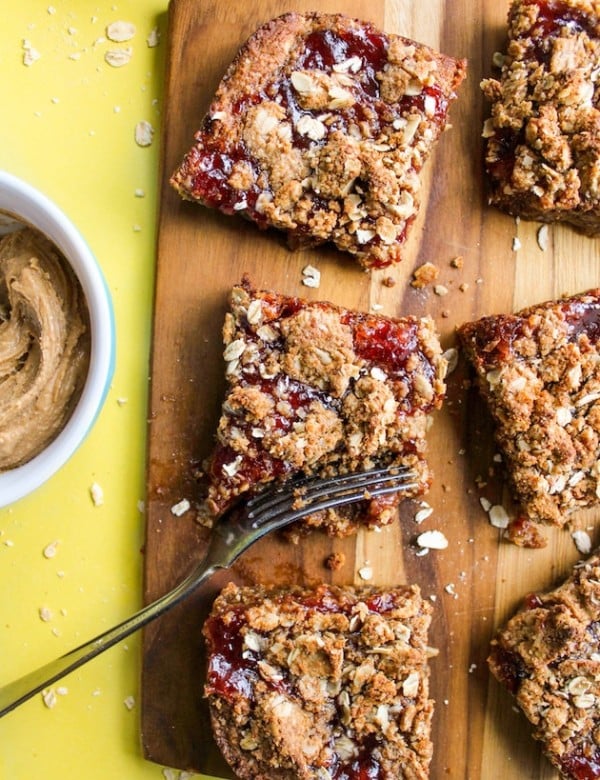
More No Bake/Chilled Gluten Free Desserts
Enjoy!
Let me know if you try this Frozen Peanut Butter Cup Pie recipe! Leave a comment and review with your thoughts. I always appreciate the feedback and serving suggestions that you come up with!
Frozen Peanut Butter Cup Pie
Creamy, dreamy Frozen Vegan Peanut Butter Cup Pie - Made with less than 10 all natural ingredients & easy to make! Grain Free + Vegan + Paleo Option
Ingredients
Crust
- 1 cup dates, pits removed & roughly chopped (!60g)
- 1 1/2 cups nuts like walnuts, pecans, almonds, cashews (115g)
- 3 tbsp unsweetened cocoa powder (23g)
- 1 tbsp coconut oil, melted (15g)
Peanut Butter Middle
- 1 cup smooth peanut butter - use almond butter for paleo option (250g)
- 1 cup coconut cream (250g)
- 2-4 tbsp maple syrup or honey if not vegan (30-50g)
Chocolate Top
- 3 oz dairy free dark chocolate (85g)
- 1 tbsp coconut milk, room temperature (15ml)
- 1/4 cup salted peanuts, chopped (40g) - optional
Instructions
Crust
- Add the dates & nuts to a high powered blender or food processor and pulse until crumbly & sticky. Add the cocoa powder & coconut oil and blend again until combined. The mixture will start to stick together as your blend. Stop and scrape the sides of the blender/food processor as needed.
- Transfer the crust to an 8 inch round tart tin with a loose bottom. Push the crust into the sides and bottom in an even layer. Set aside while you make the filling.
Peanut Butter Middle
- Add the peanut butter, coconut cream and sweetener to a mixing bowl. Whip together by hand or with an electric mixer until smooth and combined. Pour the filling over the top of the crust and then transfer to the freezer while you prep the chocolate.
Chocolate top
- Place the chocolate in a heat proof bowl that's large enough to sit over the top of a sauce pan.
- Add an inch of water to the sauce pan and bring to a simmer. Once the water is simmering place the bowl of chocolate over the top of the bowl, make sure that the water doesn't touch the bottom.
- Stir the chocolate as it melts. When there are only a few chunks of chocolate left remove the bowl from the heat. The residual heat will be enough to melt the rest. Stir in the coconut milk. set aside the chocolate & let cool.
- Once the chocolate has cooled down pour it over the top of the peanut butter filling. Use a spoon to spread the chocolate around towards the sides. Sprinkle the chopped peanuts over the top.
- You can serve as is or place in the freezer for 40 minutes to firm up more.
- Store this in the fridge or freezer. If you keep this in the freezer for over an hour let it that on the counter for at least 15 minutes before attempting to cut into.
Notes
Prep time includes freezer time.

Maria says
Is the coconut cream and coconut milk both from the can?
Sarah says
Yes! The main difference is that the coconut cream is the thick cream on top of the can where as the coconut milk is when the cream is mixed with the water in the can so it’s a thinner texture
Heather says
Thank you so much for this fabulous recipe! I had a PB pie craving and made it to share with guests. Wasn’t sure how well it would go over, but it was a winner! I didn’t have coconut cream, so I subbed with some cream cheese (non-vegan) but going to plan ahead for that next time. It is delicious! Of course, kiddos asked for seconds, thirds . . . One guest asked for the recipe 🙂 Thank you again!
Sarah says
Thanks Heather – so happy to hear that!
Tania Ellis says
A fantastic dessert!! Only issue for me was that when I added the coconut milk to the melted chocolate it ‘thickened’ up the chocolate (so instead of being runny it was very thick and difficult to spread). What might I have done wrong?
Sarah says
Hi Tania! So glad you liked it!
What was the coconut milk temperature like? Sometimes when working with coconut milk I need to warm it up a little bit to make it easier to mix. I think it probably needs to be at least room temperature when mixing it all up so that it’s easier to spread at the end. I’m gonna make a note of that in the recipe!
Hannah says
I had this happen too-ended up I just needed to add more coconut milk to thin it out again.
Mel says
I have made this several times and it’s always a crowd pleaser!
Sarah says
That’s so awesome! Thanks for coming back to let me know what you think!
Natalie says
Hi! What percentage of dark chocolate do you recommend? Can’t wait to make this!
Sarah says
Hi Natalie! We usually use around 70% but you can use whatever percentage you’d like!